Start With Your Eyes: The Visual Sweep
Most water heater leaks announce themselves to anyone who looks. Grab a flashlight and work around the unit slowly, top to bottom. Check the cold-water inlet and hot-water outlet nipples on top for green corrosion crust or active drips. Look at the temperature and pressure relief valve on the side and follow its discharge pipe down; any moisture at the end of that pipe deserves attention. Crouch and study the base: rust trails running down the jacket, a damp ring where the tank meets the floor, or water beading along the bottom seam all point to tank-wall failure rather than a fitting. If the heater sits in a drain pan, look for standing water in the pan, and note whether it is clear (fresh leak) or rusty (ongoing corrosion).
Two simple tricks sharpen the visual check. First, the paper towel test: wrap a dry paper towel around each suspect joint for a minute. A slow seep that you cannot see will still dampen the towel. Second, dust the floor around the base with a thin layer of dry sweeping compound or even flour if the floor is dark; fresh drips leave unmistakable tracks. And do not forget the surroundings: water travels along framing and pipes, so a puddle two feet from the heater may have started at the heater. Trace every wet spot back to its highest point.
The Water Meter Test
When you suspect a leak but cannot see one, the water meter settles the question. The meter measures every gallon entering the house, so any movement with all water off proves a leak somewhere in the system.
- Turn off everything that uses water. No faucets, no toilets refilling, no dishwasher, no irrigation, no ice maker cycling. Tell everyone in the house to hold off for the duration.
- Find your meter and read it. Most Knoxville homes have the meter in a ground box near the street or sidewalk. Lift the lid, note the numbers, and watch the small leak-indicator dial or triangle; on many meters it spins with even a tiny flow.
- Wait one to two hours without using water. Recheck the reading. Any increase means water is escaping somewhere between the meter and your fixtures.
- Isolate the water heater specifically. Close the cold-water inlet valve on the heater alone, leave everything else as it was, and repeat the wait. If the meter stops moving with the heater isolated, the leak is in the heater or its immediate piping. If it keeps moving, the leak is elsewhere in the house, and our residential leak detection page covers the next steps.
Narrowing Down the Source
Different drip locations tell different stories, and the distinction decides whether you need a fitting repair or a new tank:
- Dripping relief-valve discharge pipe. Usually thermal expansion with nowhere to go, a failing relief valve, or excessive incoming pressure. Often fixable without touching the tank.
- Moisture at the top fittings. Corroded nipples or loose dielectric unions. These are repair jobs, and catching them early keeps water off the jacket.
- Damp drain valve. The plastic drain valves on many tanks weep after a flush disturbs sediment. Sometimes snugging the valve stops it; sometimes the valve needs replacement.
- Rust or water at the bottom seam. The tank wall itself is failing. No fitting repair fixes this; plan for replacement.
- Water with no clear origin. Could be condensation on cold pipes in a humid utility room, a nearby washing machine hose, or HVAC condensate sharing the drain. Dry everything, then check again in a few hours to see what reappears first.
Professional Tools and Methods
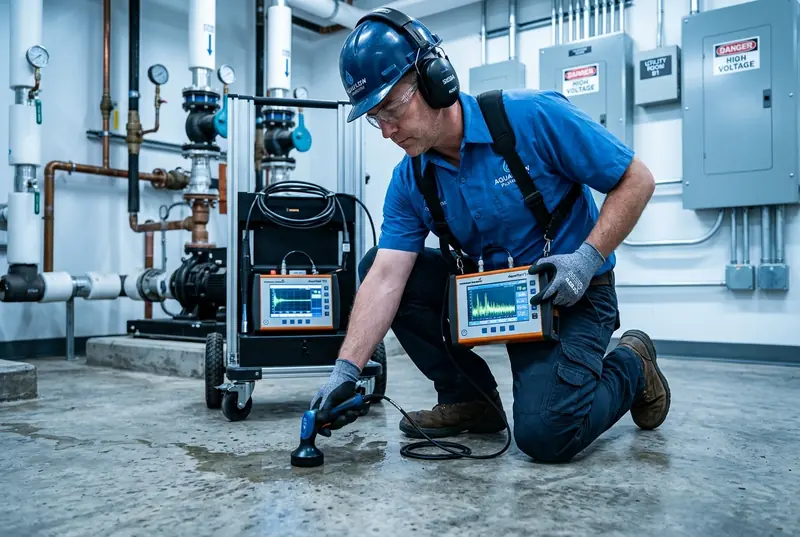
When the source stays hidden, licensed plumbers bring instruments that see what eyes cannot. This table covers the methods used on residential calls around Knoxville.
| Method | What it finds | When it is used |
|---|---|---|
| Acoustic listening | The hiss of pressurized water escaping through a pinhole | Suspected slab or underground supply leaks feeding the area |
| Thermal imaging | Temperature differences from hot-water leaks behind walls or under floors | Warm spots with no visible moisture near the heater |
| Pin and pinless moisture meters | How far dampness has spread inside drywall and framing | Mapping damage before opening walls |
| Isolation pressure testing | Whether a specific pipe section holds pressure | Confirming the heater versus the house piping as the culprit |
| Tracer gas | Pinpoint location of leaks under concrete | Slab leaks where acoustic methods struggle |
| Borescope camera | Visual confirmation inside wall cavities | Before cutting drywall, to keep the opening small |
What to Do While You Wait for Help
If water is actively spreading, you do not need a diagnosis before acting. Close the cold-water inlet valve on top of the heater to stop feeding the leak. For an electric unit, switch the breaker off; for gas, turn the control to pilot. If water is near outlets or the breaker panel, leave the electrical panel alone and keep clear. Move valuables off the floor, and contain the spread with towels while you call. Our emergency shutoff guide walks through every valve in a typical Knoxville home so you can act fast the next time too.